Contents
- Hour 1: What is SSRS and determine whether it is installed
- Hour 2: Report using wizard
- Hour 3: First SSRS report
- Hour 4: Report with parameter
- Hour 5: Custom template
- Hour 6: Drill down report
- Hour 7: Sub report
- Hour 8: Report with style
- Hour 9: Report with chart
- Hour 10: Report deployment
- Hour 11: RDL file to ASP.Net
SSRS Report Deployment
Step 1
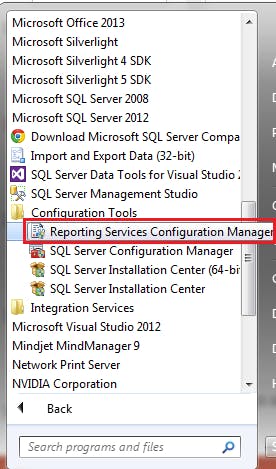
- Click on the "Start" button.
- Go to "All Programs".
- Expand "Microsoft SQL Server 2012".
- Expand "Configuration Tools".
- Look for "Reporting Services Configuration Manager".
Step 2
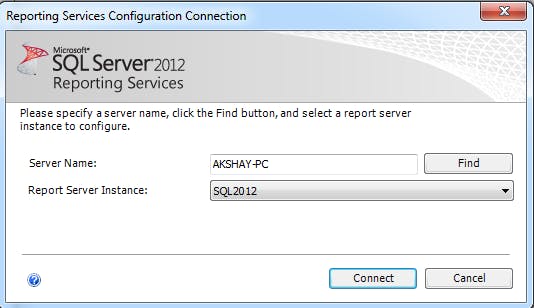
- Provide the server name and select Report Server Instance.
- Click on "Connect" and it will connect to the Reporting Services Configuration Manager.
Step 3
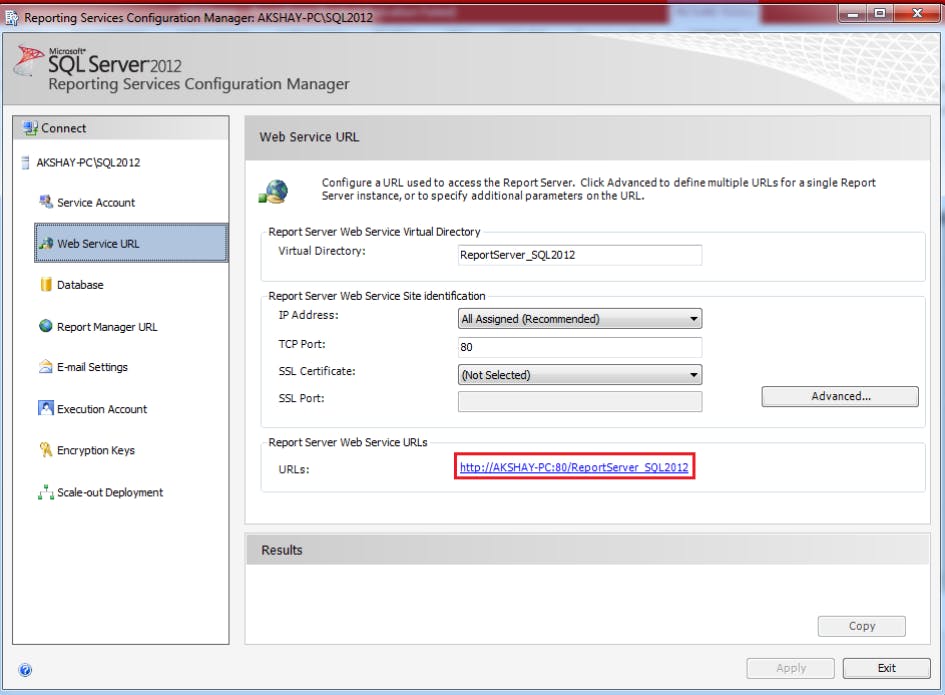
- Select "Web Service URL" from the left panel and you can see Web Service URL detail to the right side.
- Copy the Url from the Report Server Web Service URLs.
Step 4
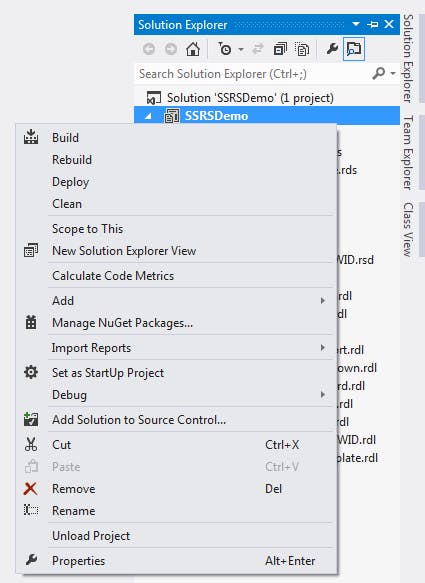
- Now switch to our report project.
- Right-click on the project and click on Properties.
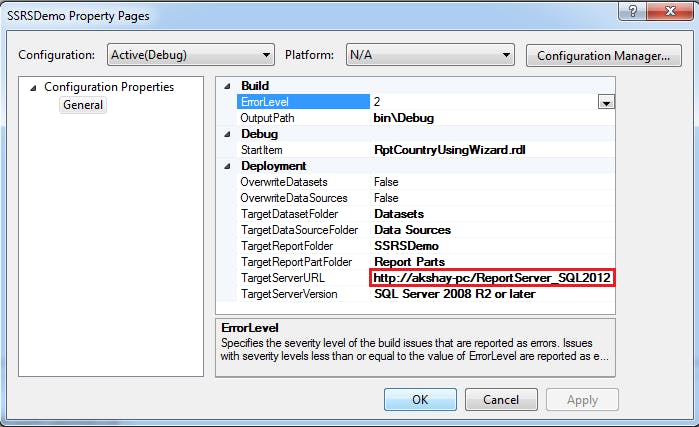
Step 5: In the properties, Paste the copied URL as TargetServerURL.
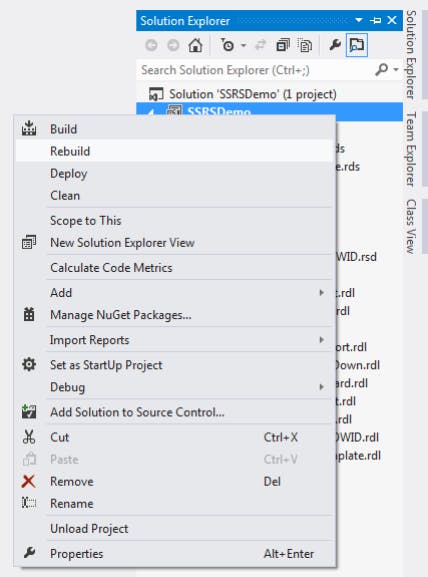
Step 6: Right-click on the project and click on "Rebuild".
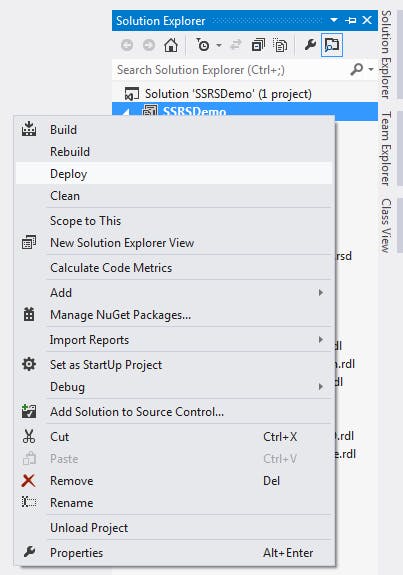
Step 7: Now in order to deploy the project, right-click on the project and select "Deploy".
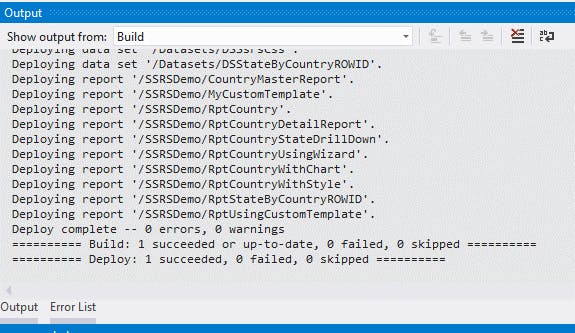
Step 8: You have successfully deployed your project.
Step 9: Paste the same URL in the browser and you can see our deployed folders.

Step 10
- Now click on "Data Sources" and we have a list of data sources.
- It will look like this:

Step 11
- Click on "Datasets" and we have a list of datasets created during the project.
- It will look like this:
Step 12
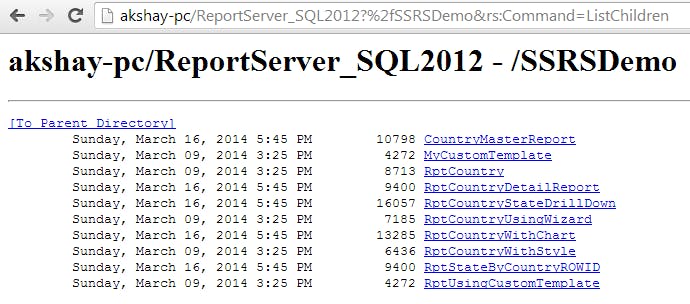
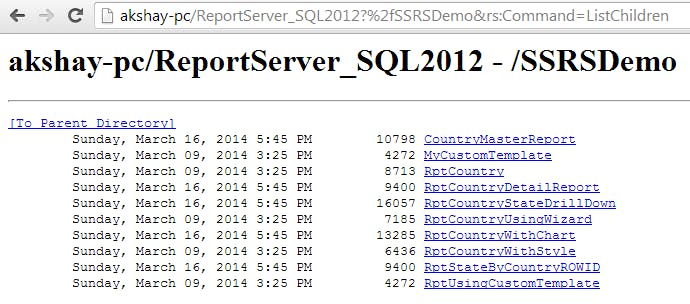
- Click on our project folder "SSRSDemo" and we can see all the RDL files.
- As shown below.
In the next article, we will see how to integrate a RDL file in ASP.Net using reportviewer.
Next >> Hour 11: RDL file to ASP.Net

